Rigging
RIGGING OVERVIEW
TIPS FROM THE DITCH
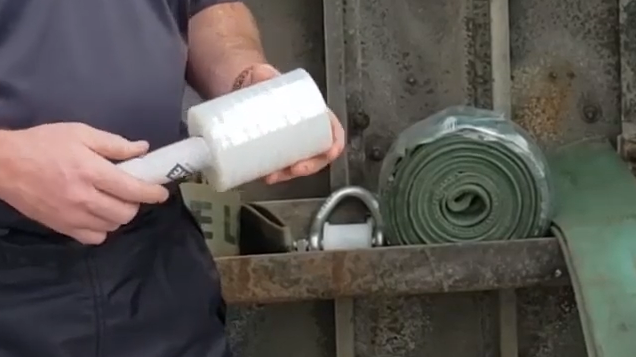
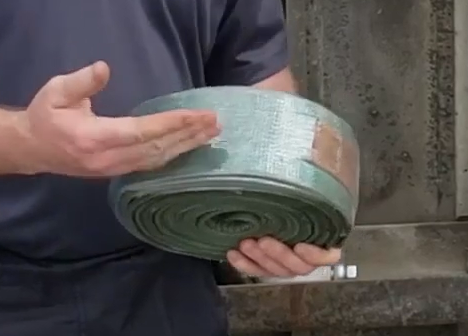
To keep your rigging looking brand new, use stretch-wrap to wrap your straps when storing away to keep them nice and tight.
CONNECTION COMPONENTS
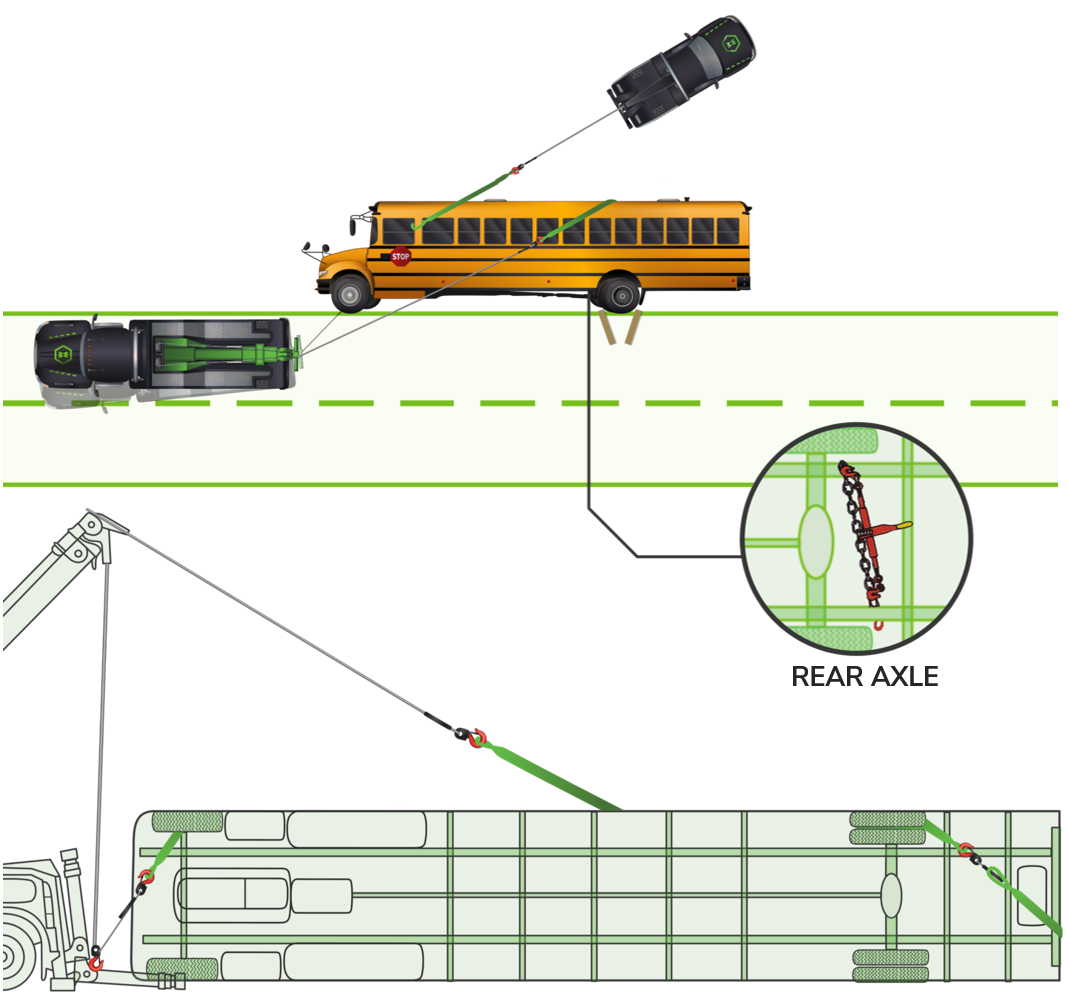
Since we are only using one truck, we want to prevent the casualty from sliding. In order to do this, the rigging needs to be positioned a little more forward. The first pull with the high-line is going to lift the bus instead of dragging it toward the tow truck.
The control line will also need to be placed in a position that acts in opposition, heading toward the back of the bus.
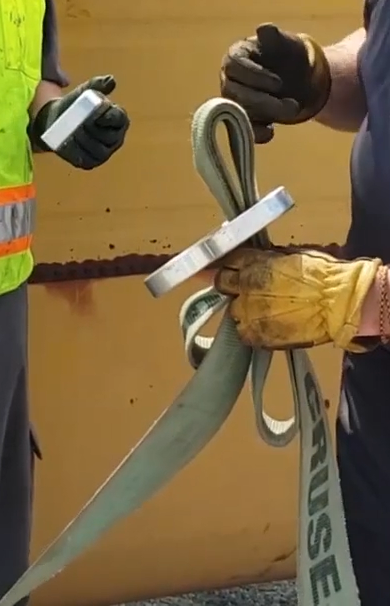
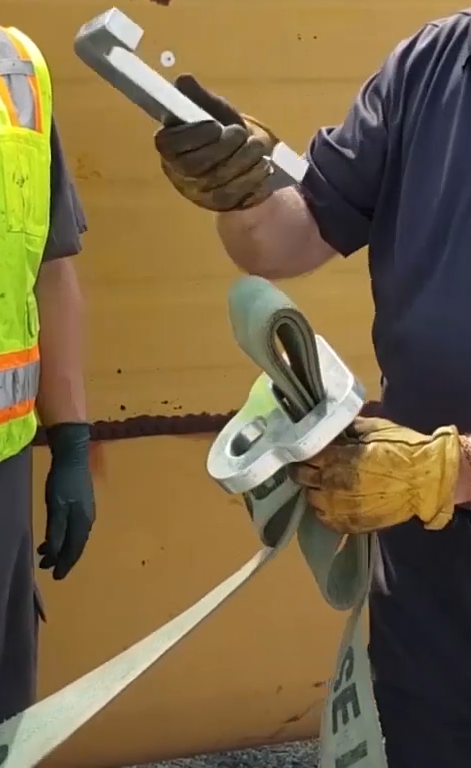
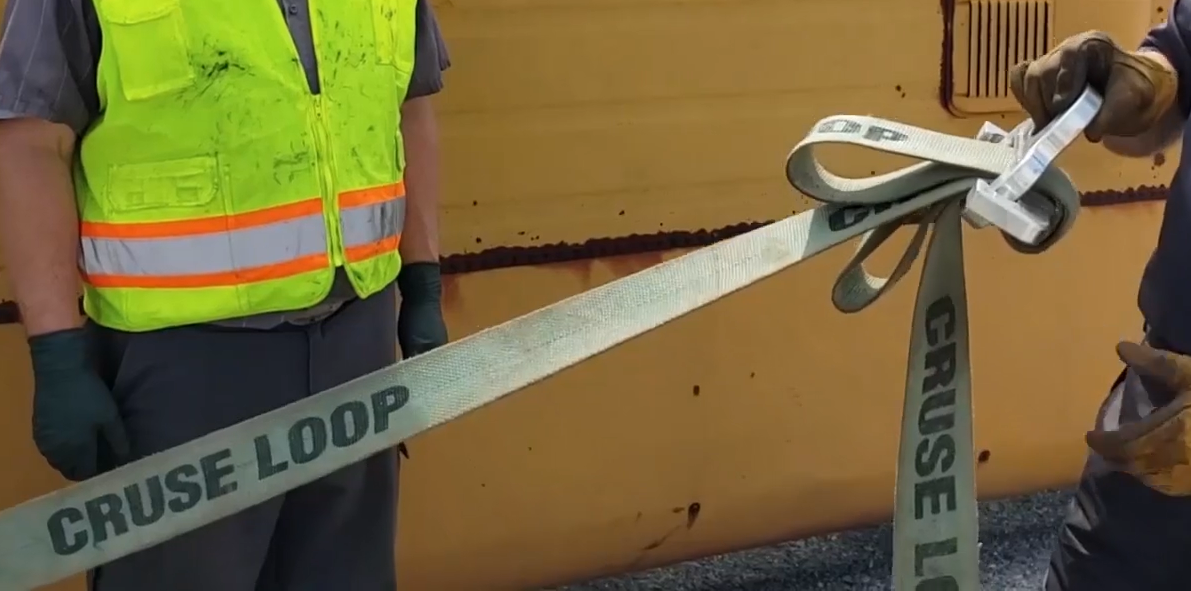
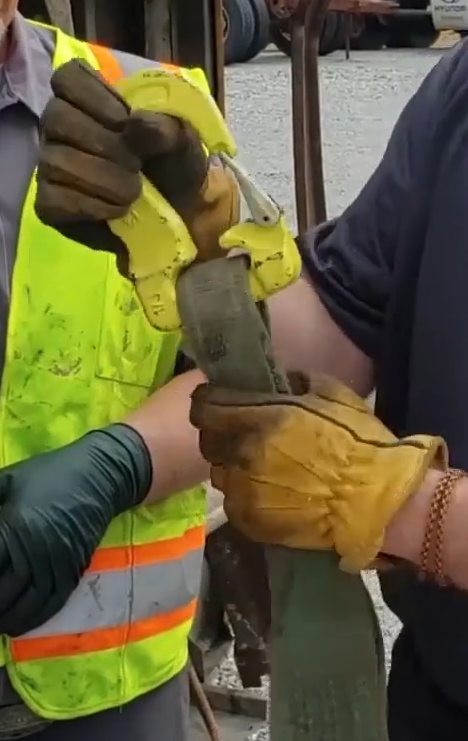
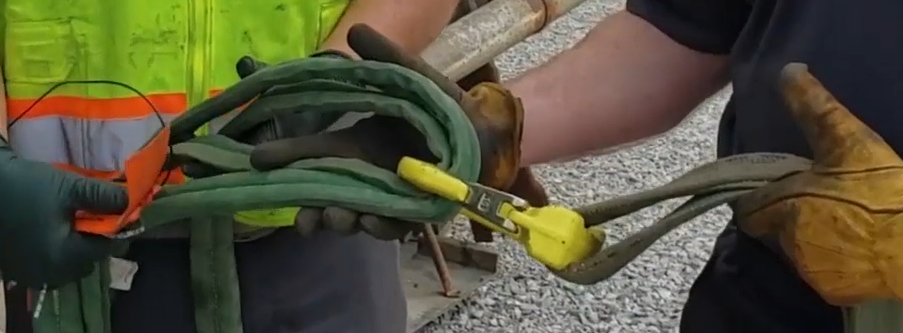
Use a web-sling hook to create an attachment point on the end of a cruse loop.
Each end of the twin pass strap will drop in through the hook.
GETTING THE STRAP UNDER THE CASUALTY
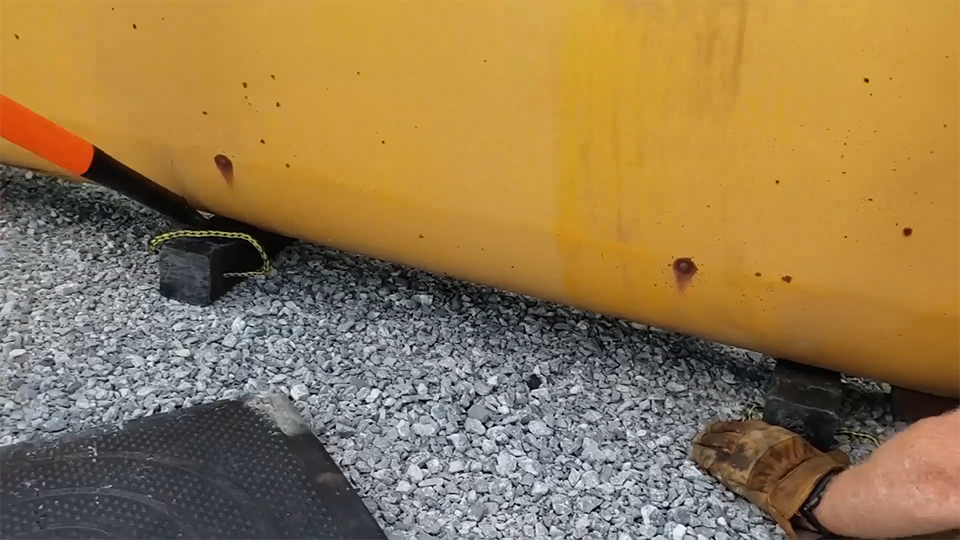
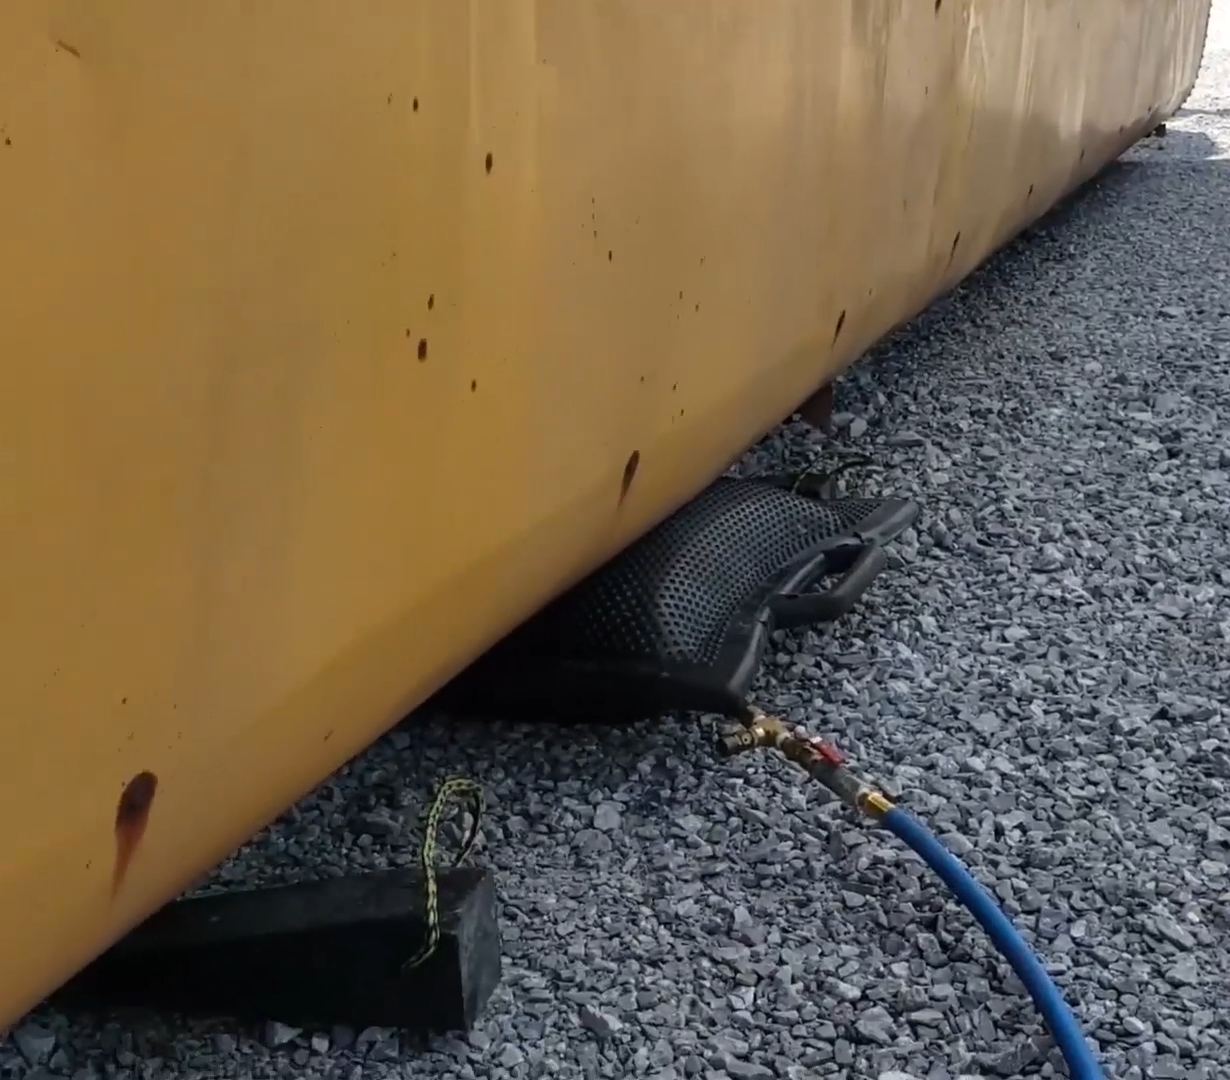
You will need to clear a pathway for the strap to pass under the bus.
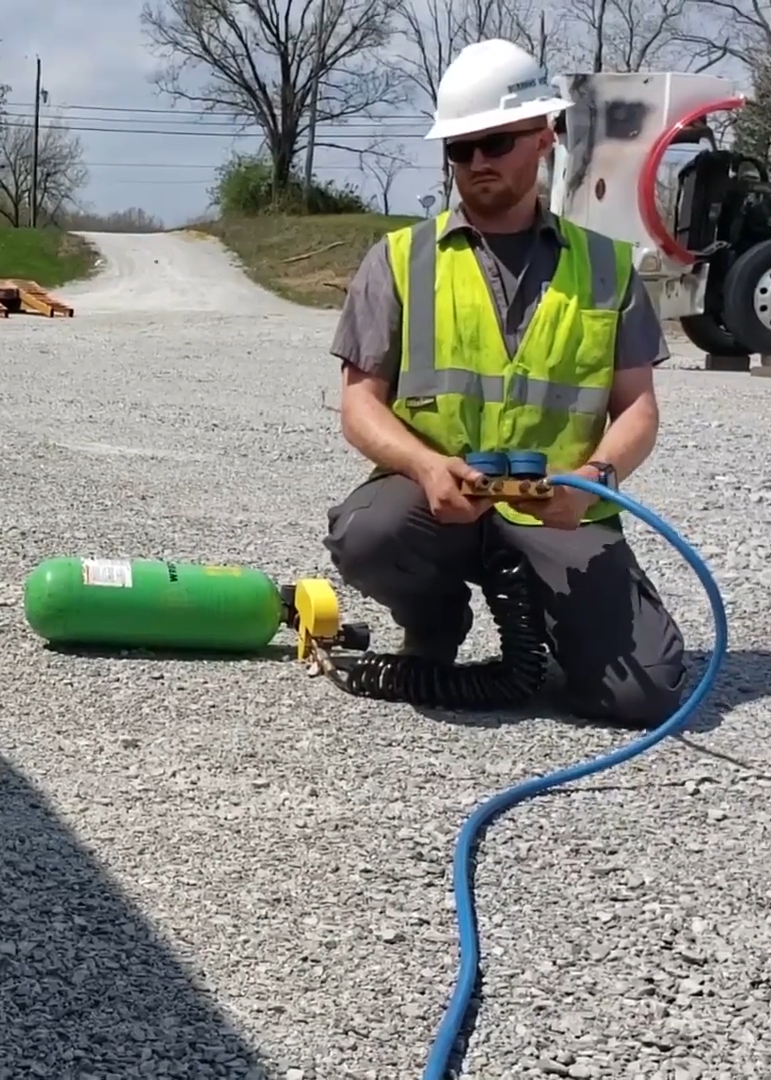
To start the lift of the bus, you can use a grizzly bar and wedges to make room for the placement for your air cushion.
SHORTENING YOUR STRAPS
The cruse loop is a 4″ strap that is 30′ long. We have moved the point of attachment further forward on the bus to compensate for only using one truck to upright the bus. This means the the strap will be too long for the job.
To shorten the strap, hold it up to your casualty to determine where you would like to terminate it with a pin and buckle.
Use the tri-fold technique (as demonstrated in the video), to create 3 layers.
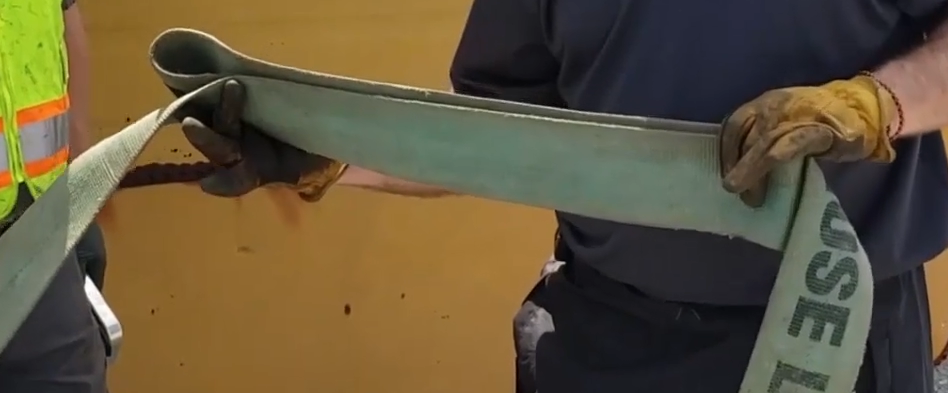
Form a bite, or loop of the end of the 3 layers and slide the buckle over the loop.
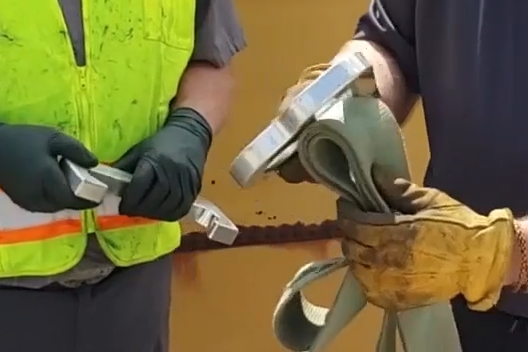
Take the pin, and slide it through the loops, pull the slack out, and fold it over.
