Dollies
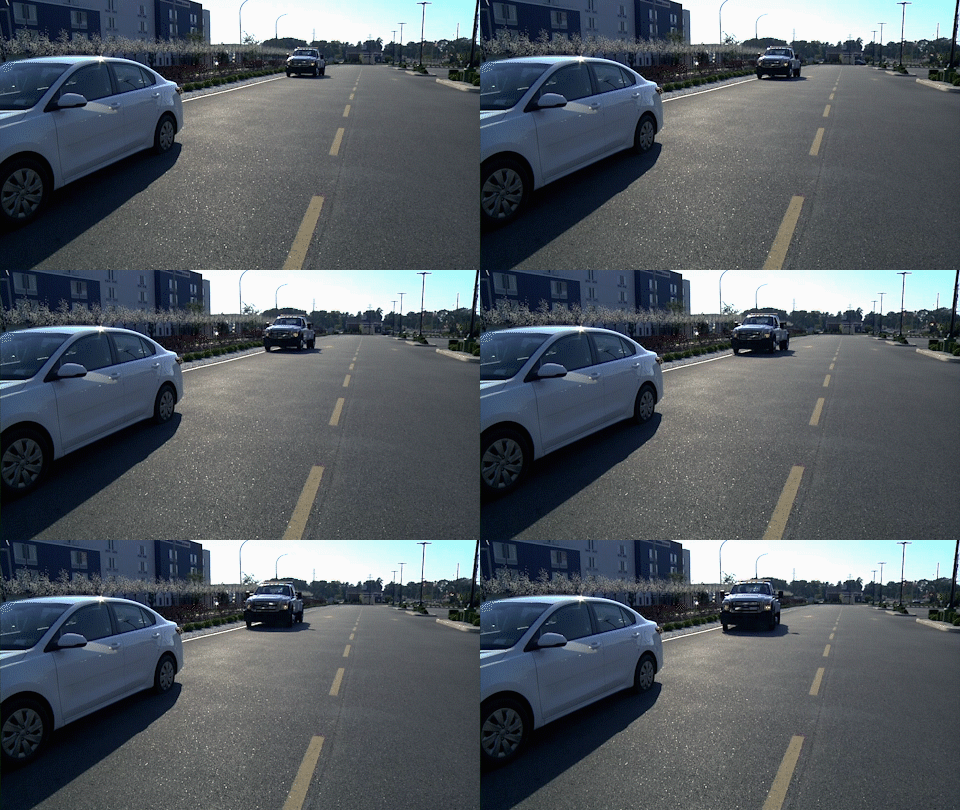
Every operator will be faced with a situation where they will be unable to tow a casualty due to issues with the wheels or tires. Whether there is a flat tire or broken or locked wheel, you must still be able to tow the vehicle to its destination. When a flatbed is unavailable and a tow truck must be used, this is where dollies come in.
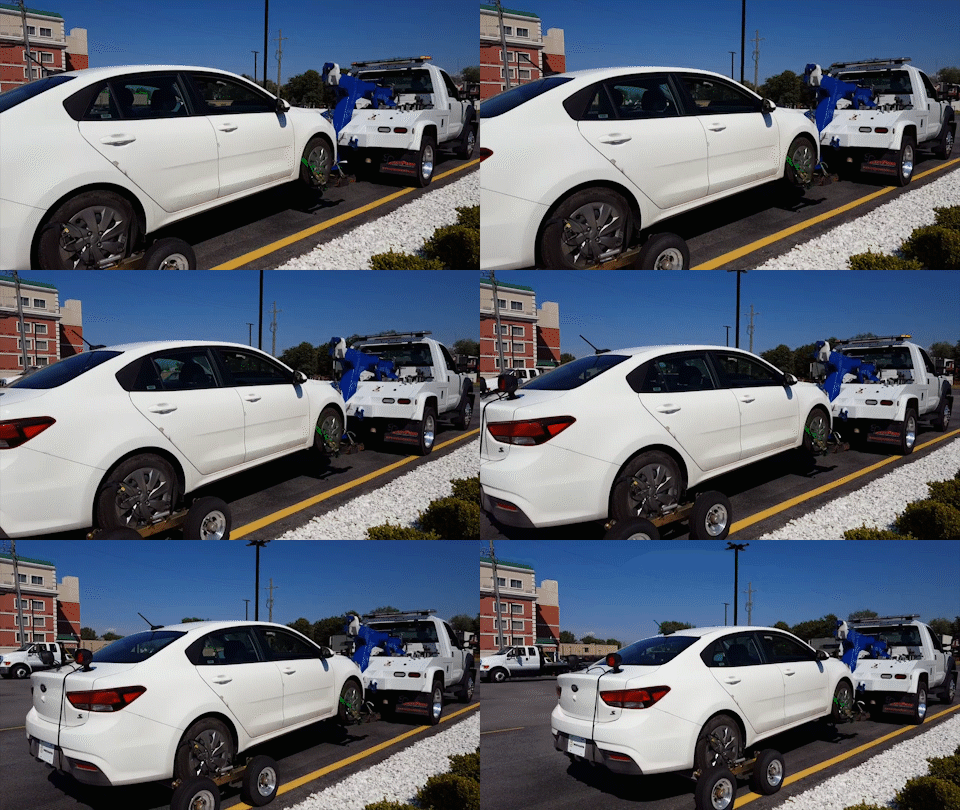
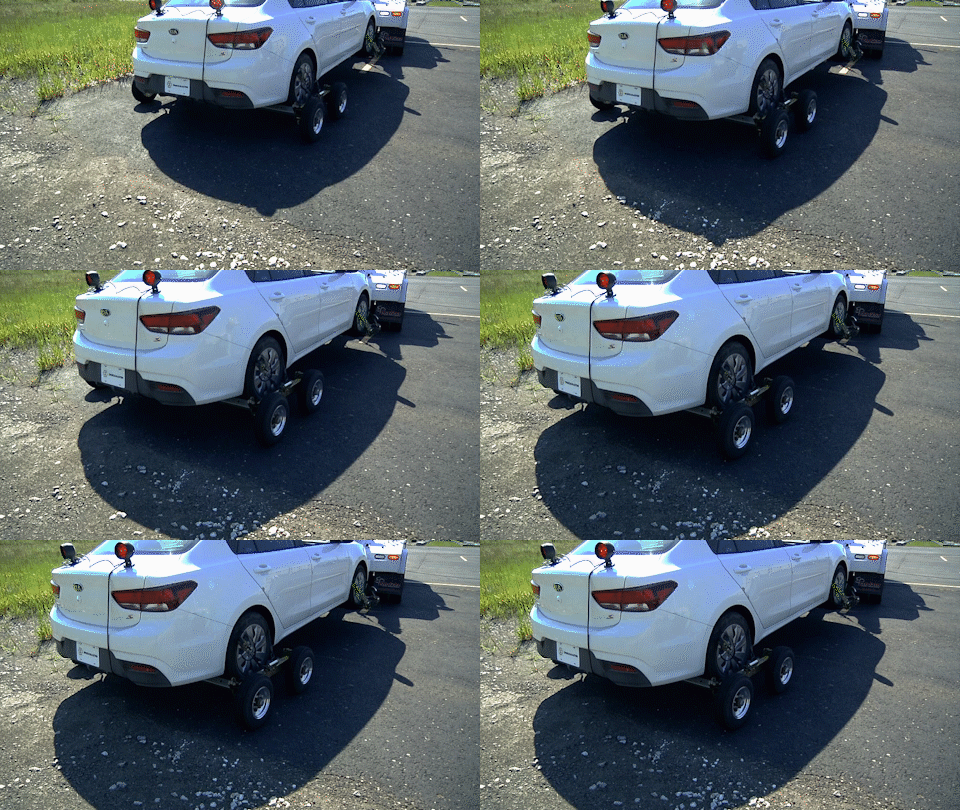
Dollies are designed to allow operators to tow vehicles that have issues with the wheels or tires. They remove wheels from the ground and allow the casualty to roll freely under the power of the tow truck. They are ideal for situations where tires cannot be repaired or replaced. Additionally, dollies should be used anytime a vehicle is not being towed by it’s drive wheels.
REMEMBER
A vehicle should be towed by its drive axle when ever possible. Towing pickup backwards can cause aftermarket items to come loose. Make sure they are secure. The general rule of thumb is to transport the vehicle in the direction it goes down the road.
Dollies should also be used when towing a hybrid or all wheel drive vehicle, as both have power to the wheels which can be damaged when towing. Dollies should be used whenever a carrier is unavailable for hybrids or AWD casualties. Dollies should be used when any drive wheels are rolling on the ground during the tow or the driveline needs to be removed.
REMEMBER
Dollies are not a long-term solution. They are not designed to be used for long trips or at high speeds. Their purposed is to assist in towing a casualty to a location it can be stored or repaired. They should not be used for long-distance transport or continually at high speeds, as this can result in damage to the dolly and the casualty.
INSTALLING DOLLIES
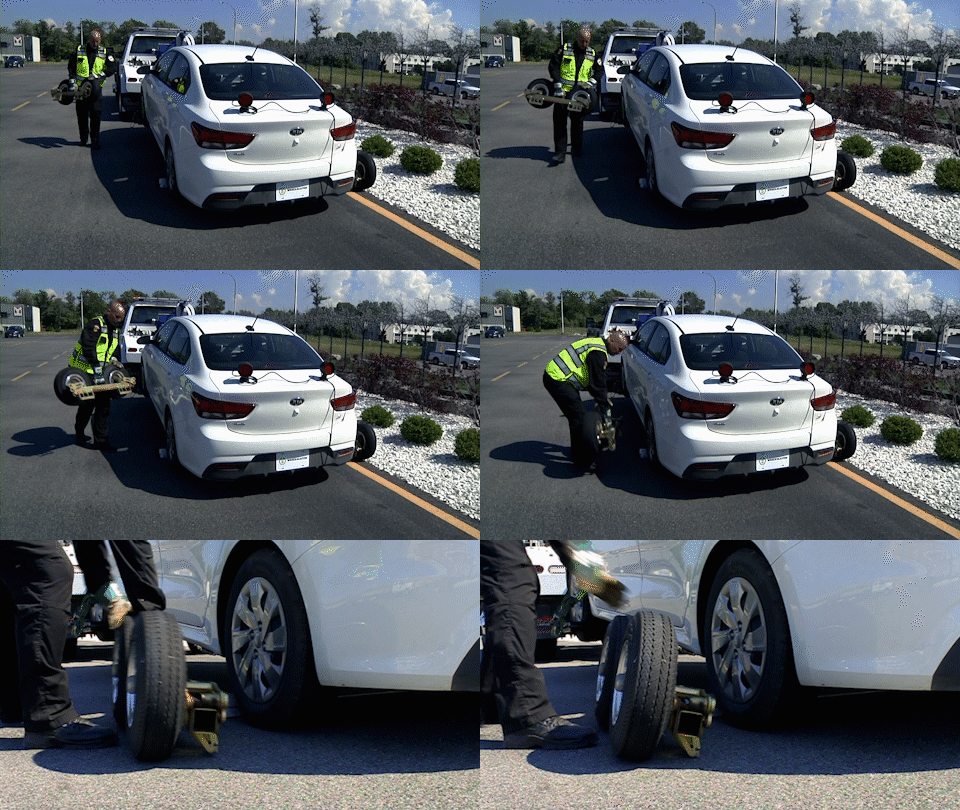
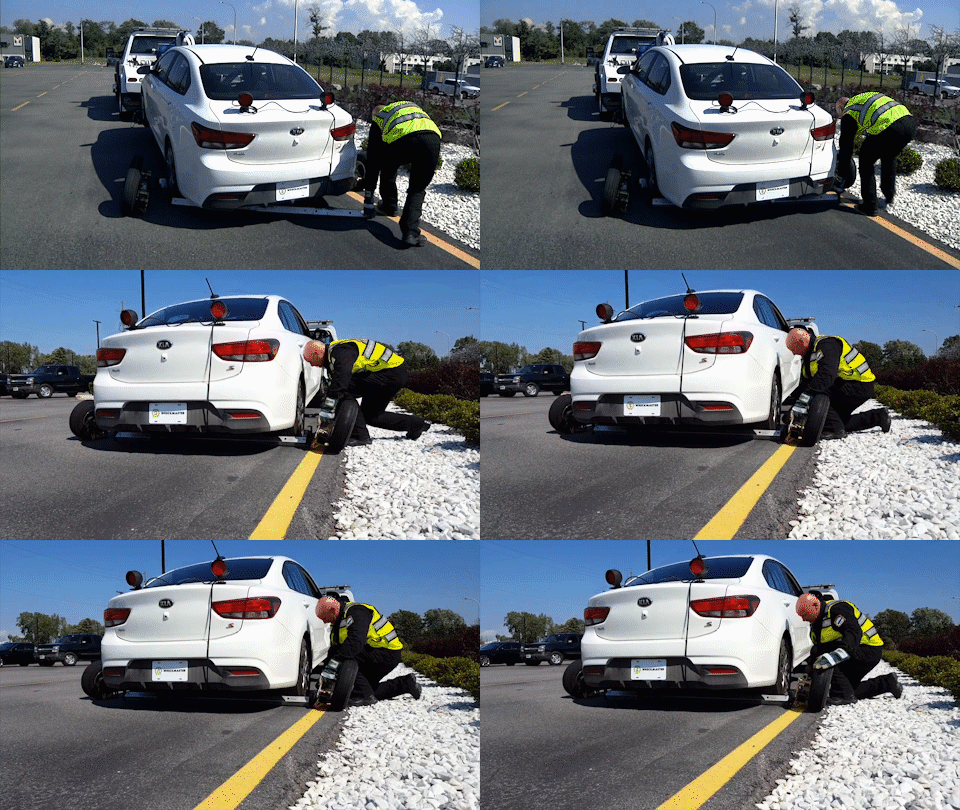
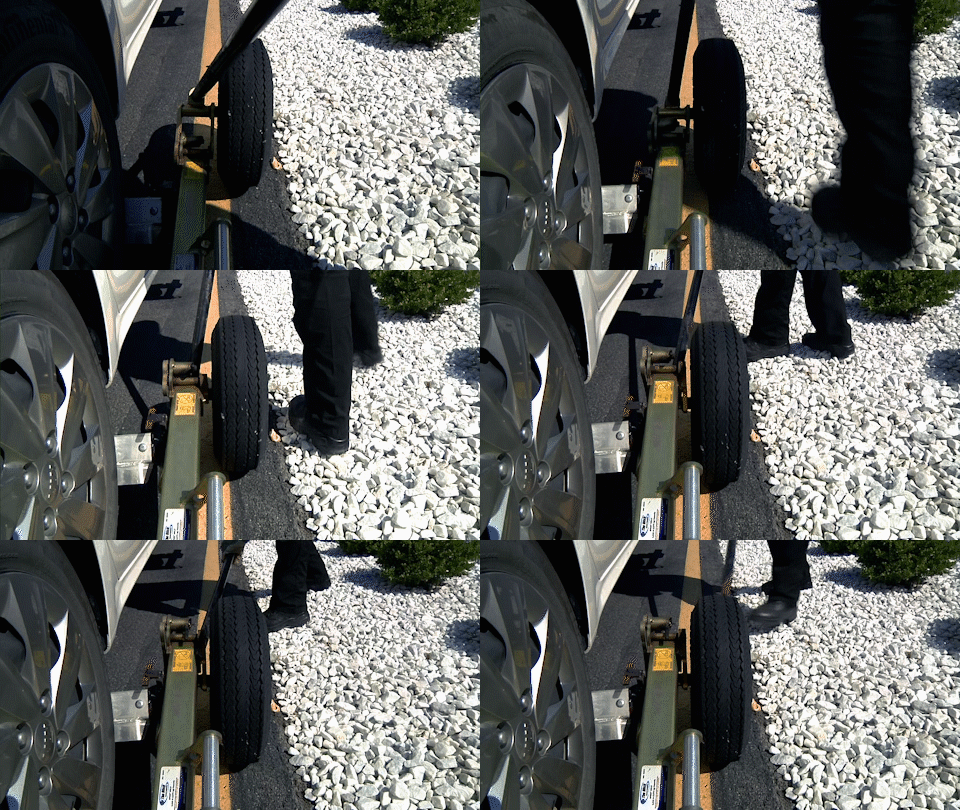
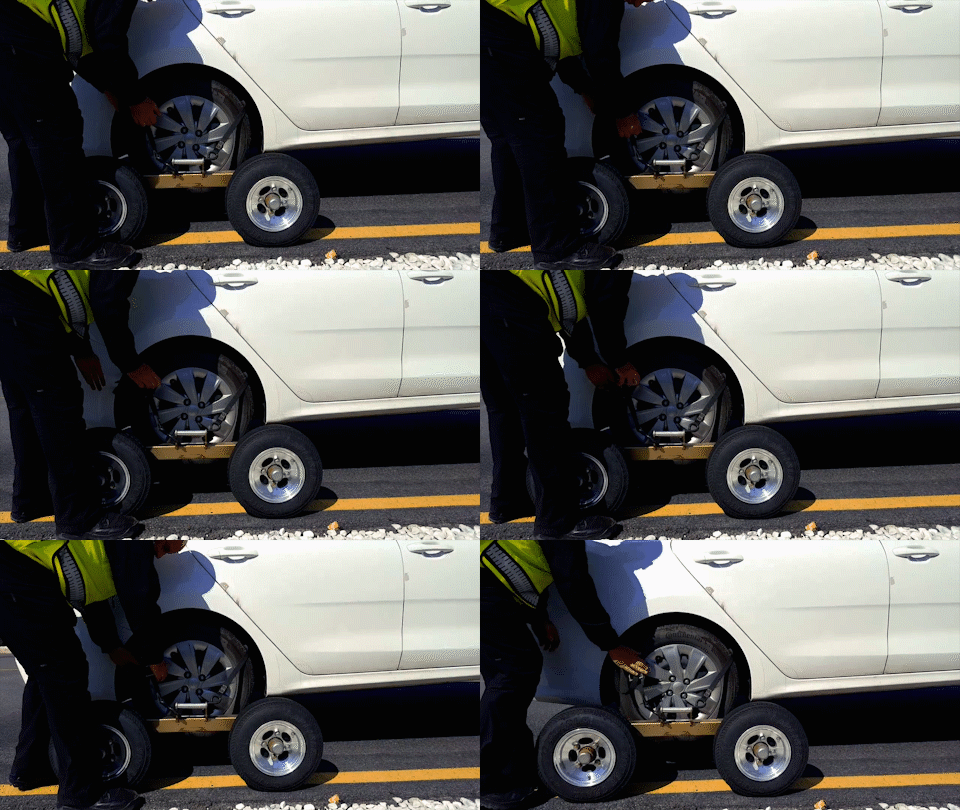
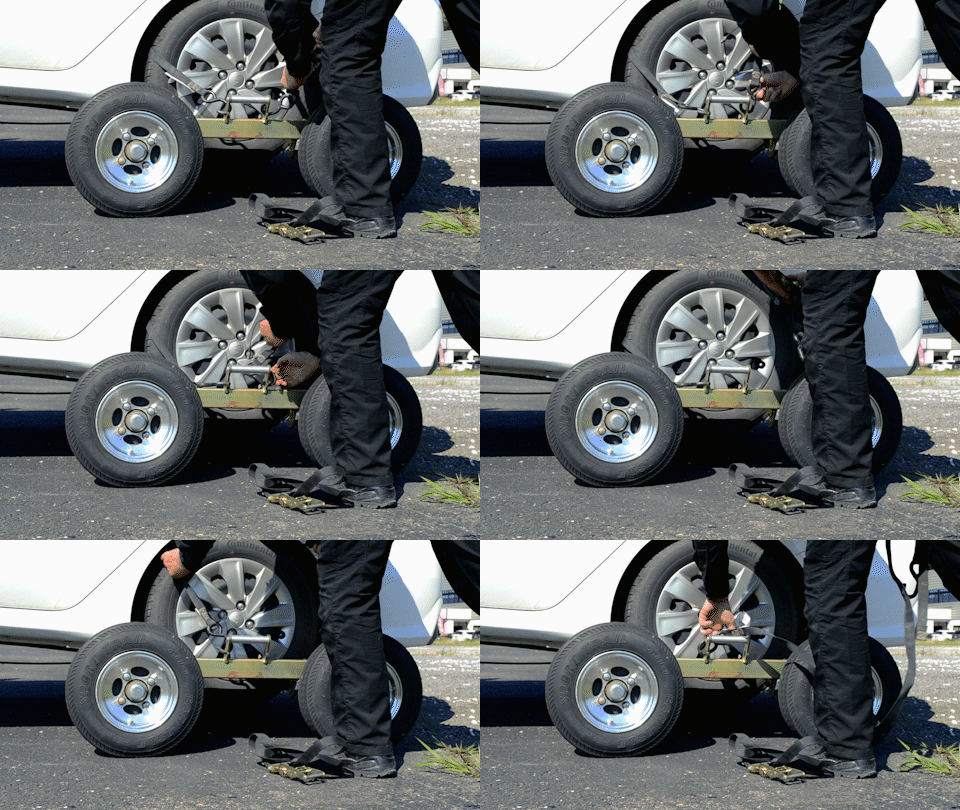
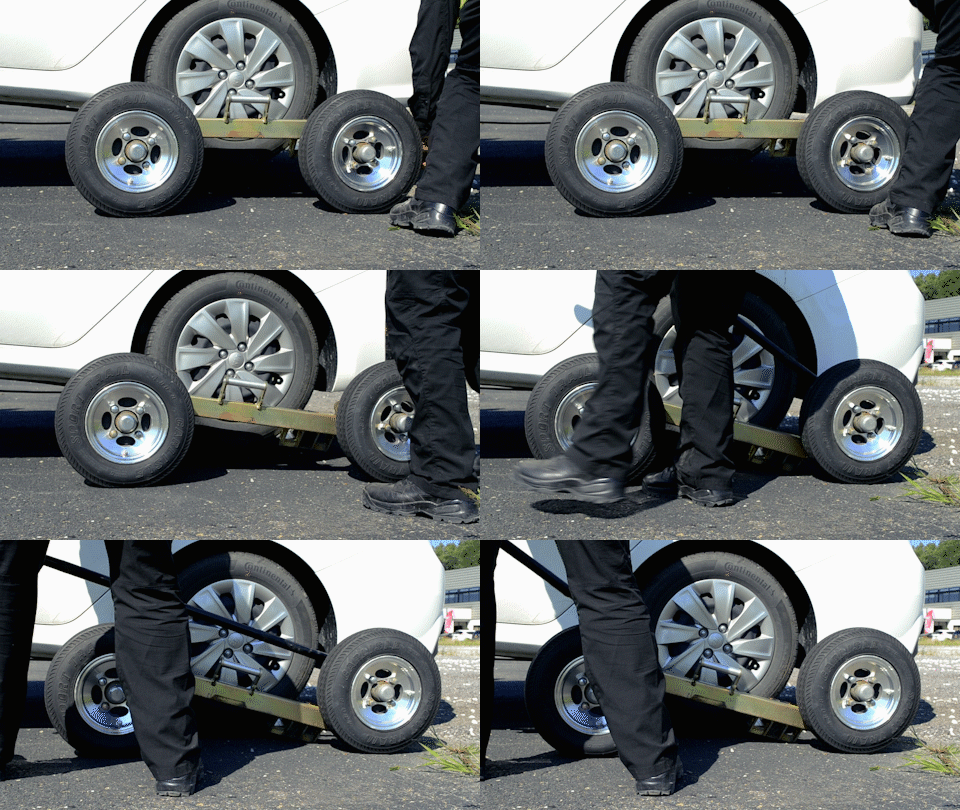
The first step for setting up dollies is to set the dolly axles to the required length for the casualty being towed. This length can be determined by using a tape measure or by laying the axle under the casualty and adjusting the axle. Place axles in front and behind the tires. The dolly frame can then be attached to axles by disengaging any locks and placing the axles in the axle cradles. Be sure that the dolly is parallel to the casualty to avoid damage the dolly wheels. Rotate the tires into position until locked and repeat on the other side of the casualty. The dolly must then be secured to the vehicle, usually via the wheels.
WreckMaster recommends using a motorcycle strap with a rachet to secure the wheels to the dolly. After a final inspection, the dollies are now ready to be used.
INSTALLING DOLLIES STEP-BY-STEP
Click the arrow on the right of the image to go through the step-by-step process of installing dollies.
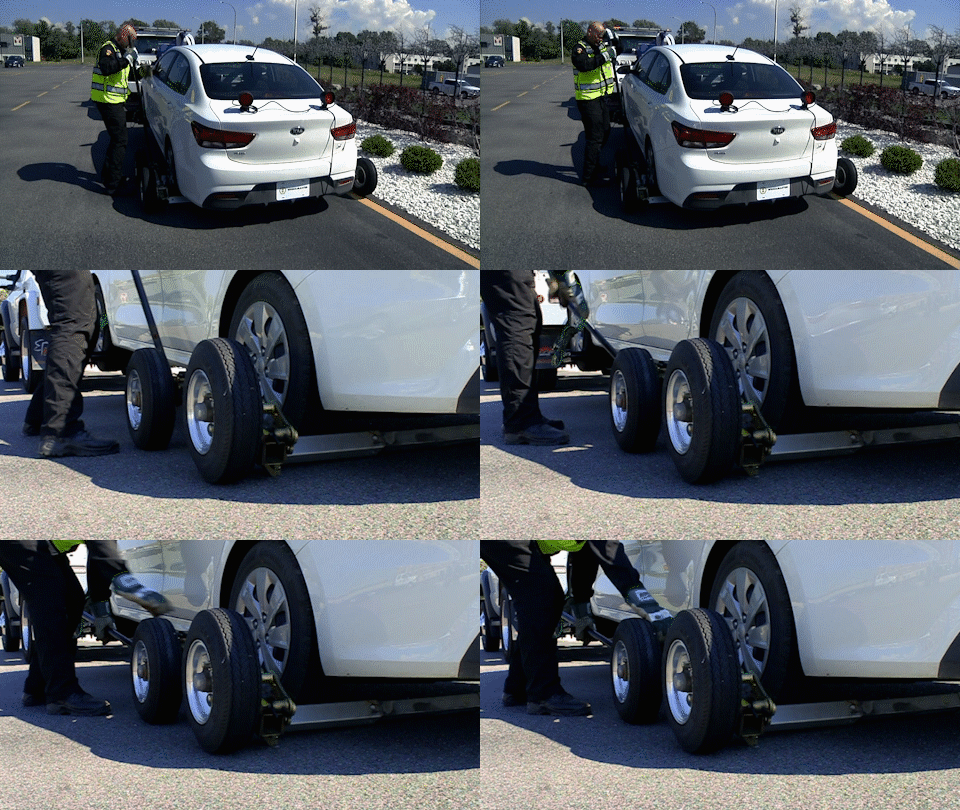
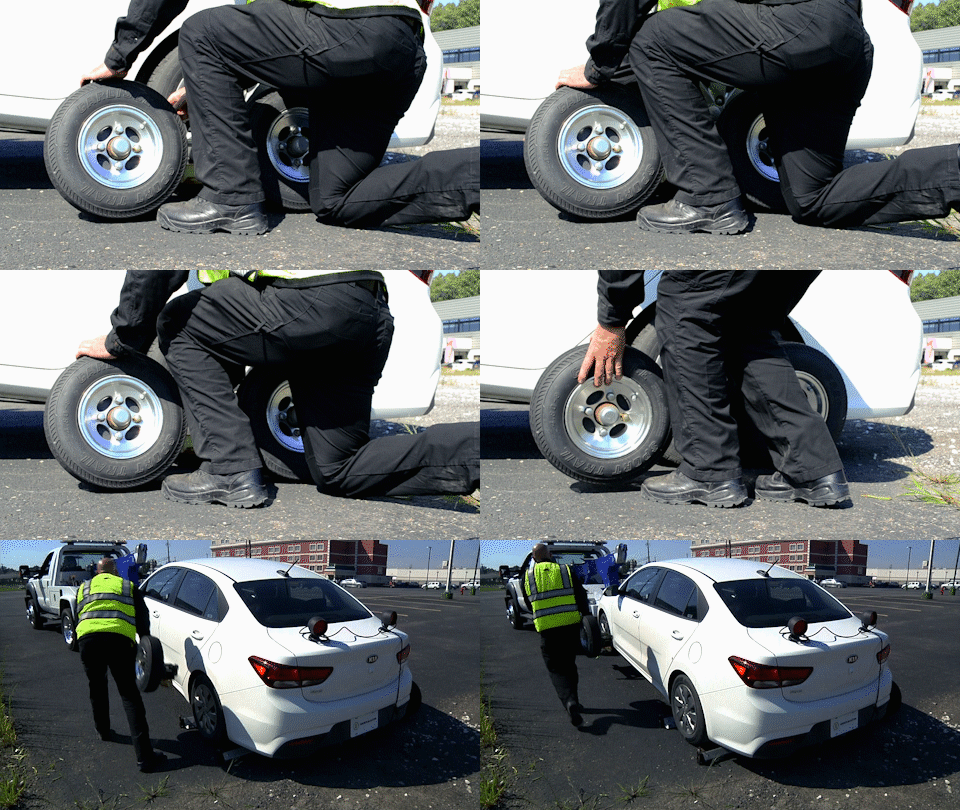
UNLOADING DOLLIES STEP-BY-STEP
Click the arrow on the right of the image to go through the step-by-step process of unloading dollies.
