Boosts, Tire Changes, & Fuel Calls
SERVICE CALLS
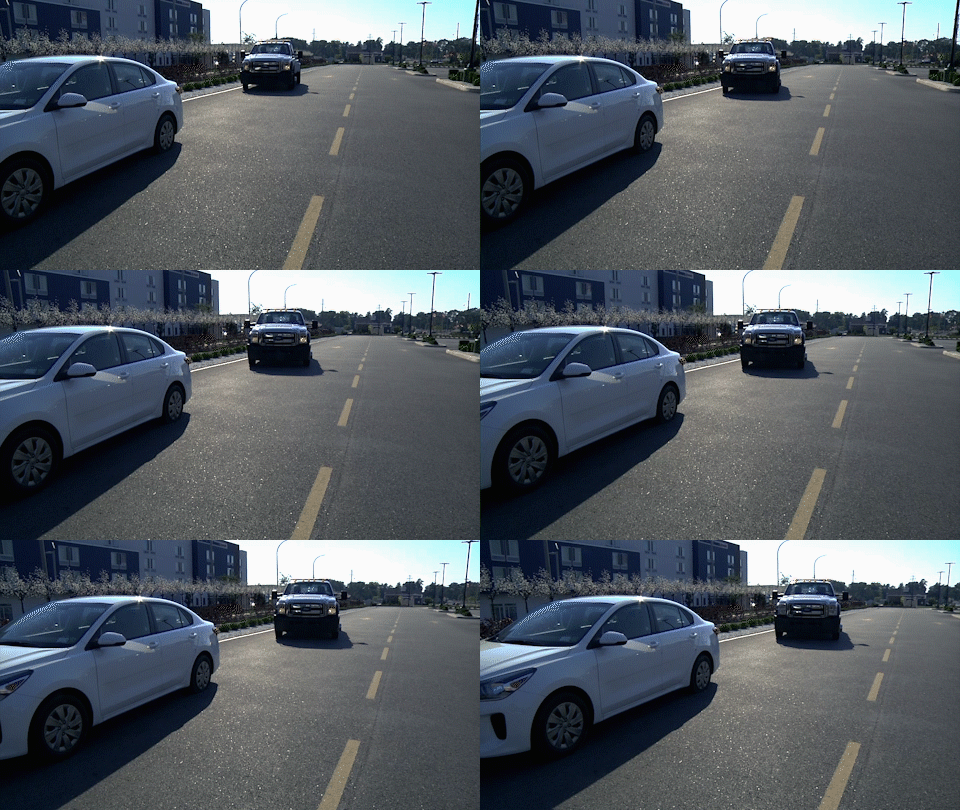
Whether it’s due to lack of light-duty jobs or just a requirement of the company, operators will likely be asked to conduct occasional service calls. Regardless understanding how to boost vehicles, change tires and handle fuel-related needs are essential skills every tower should know.
DISPATCHERS
Service calls need to work as partnership between the dispatcher and operator. While all calls should include as much detail as possible, it is vital that service calls have all information provided to the operator prior to them leaving the lot. The dispatcher should collect information on specific vehicles for the operator to be properly equipped for the call. This is especially essential when after market products such as tires have been added to the vehicle.
BATTERY BOOST
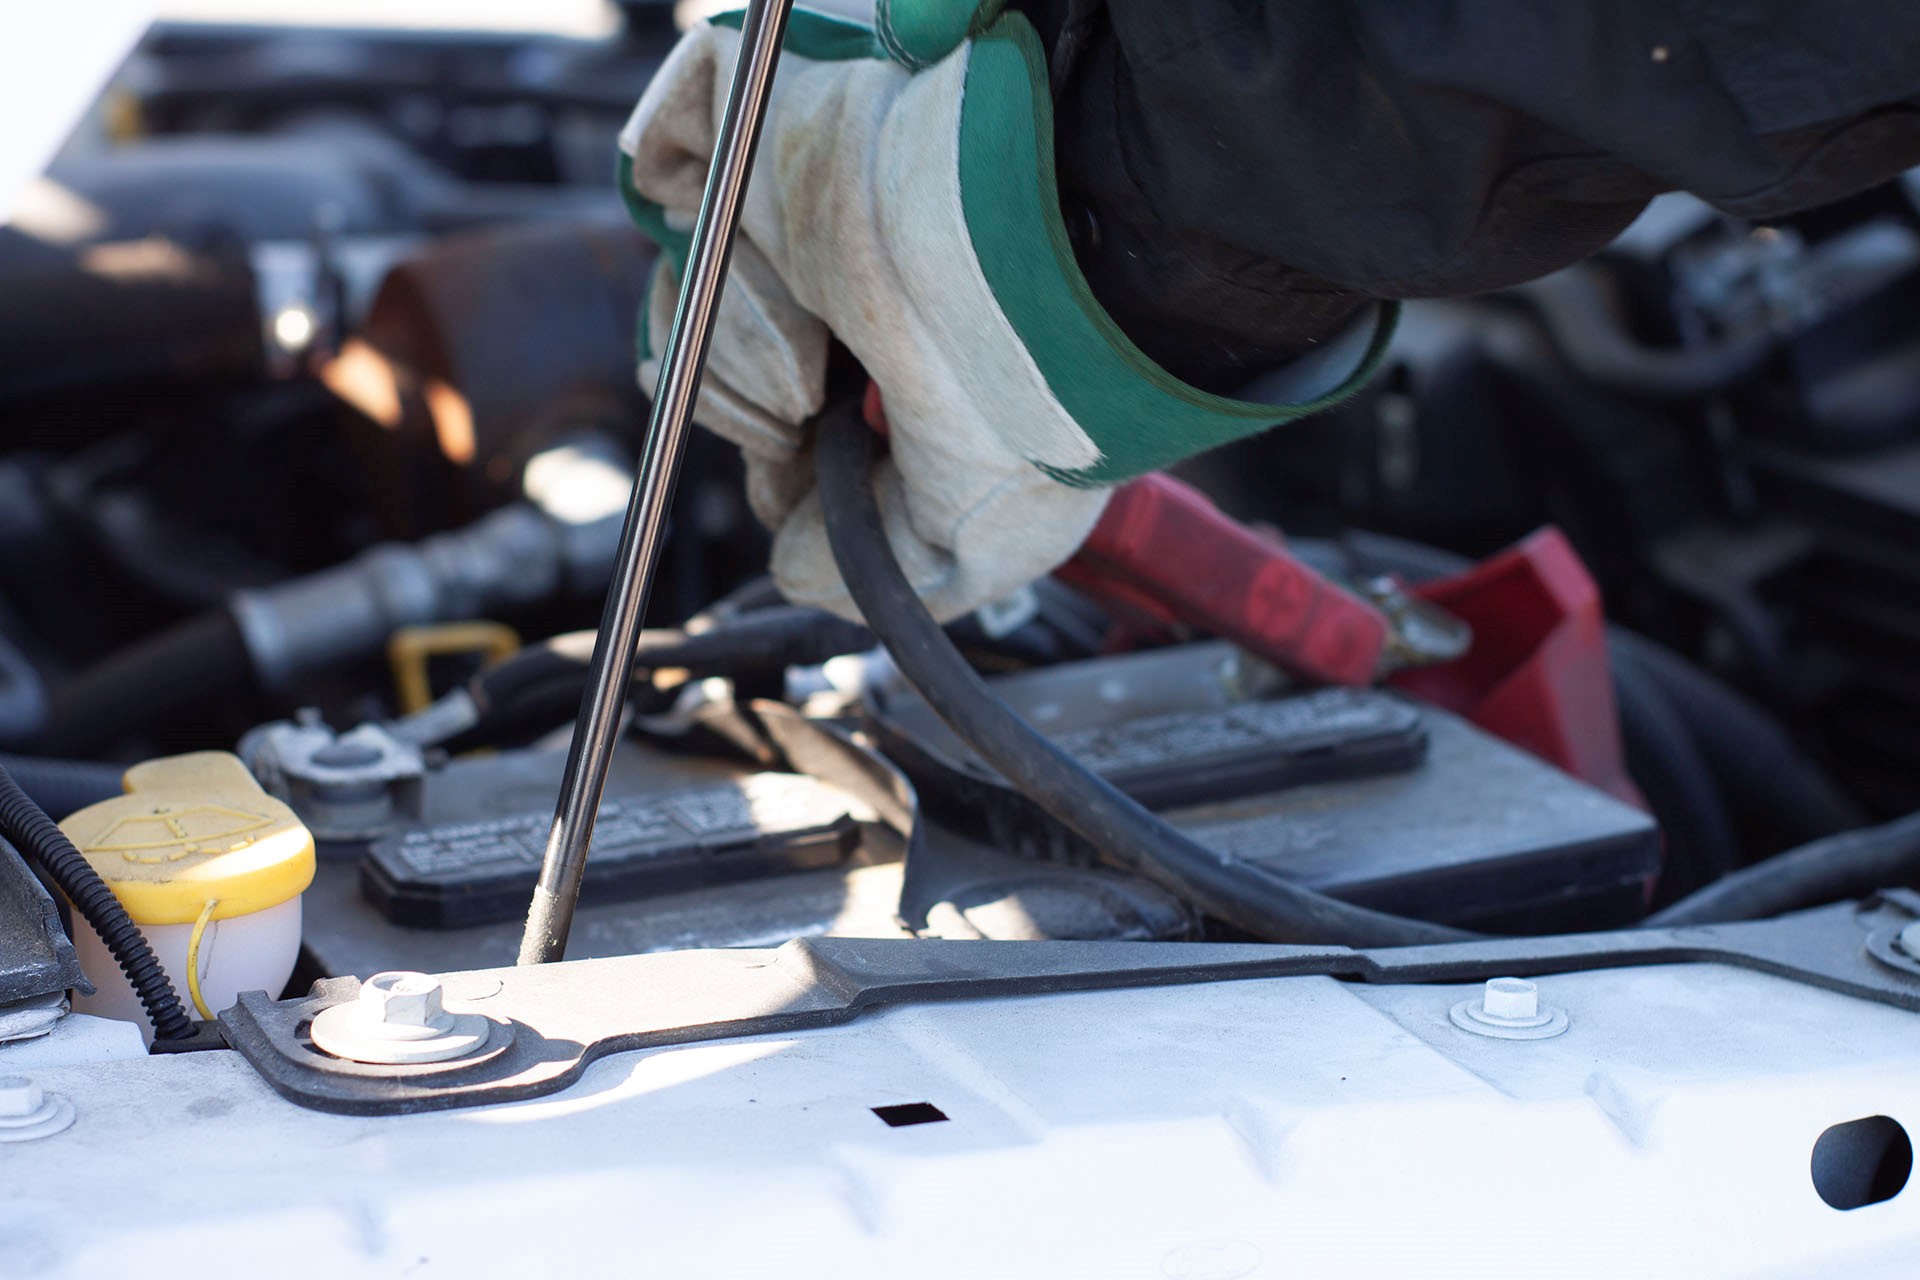
Among the most common service calls, dead or drained batteries are generally a simple fix. That said, automotive batteries have both the danger or electrical shock and acid, which can both inflict serious harm to an operator. Extreme caution should be taken anytime a battery or boosting equipment is handled. While it is not required, WreckMaster strongly recommends wearing some form of rubber coated gloves and protective eyewear while handling or boosting a battery. Proper equipment should also be worn when handling batteries that have evidence of acid.
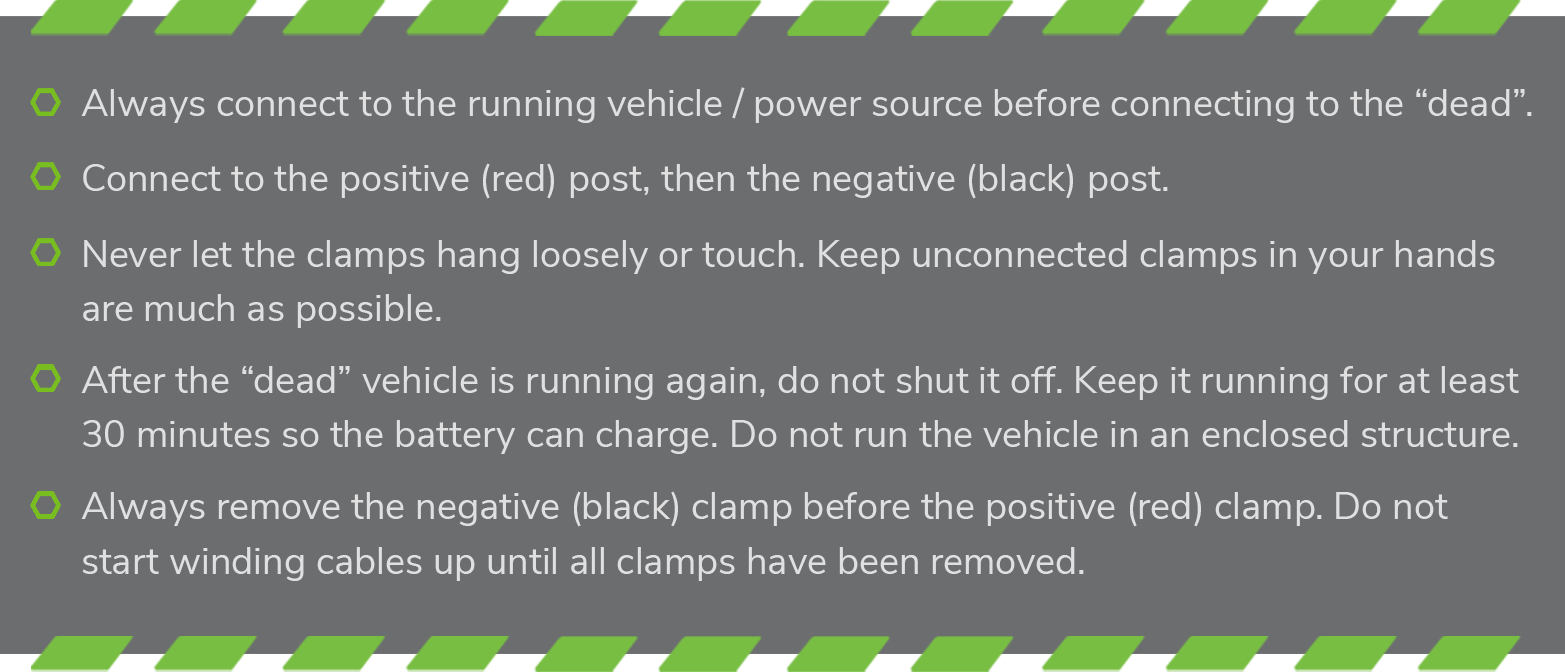
Some tips when boosting a vehicle’s battery:
When dealing with a battery that requires replacing, ensure that the dispatcher has all of the information required prior to heading to the casualty. Double check with the vehicle’s manual to ensure that the correct battery is brought to the scene and for installation instructions.
TIRE CHANGE
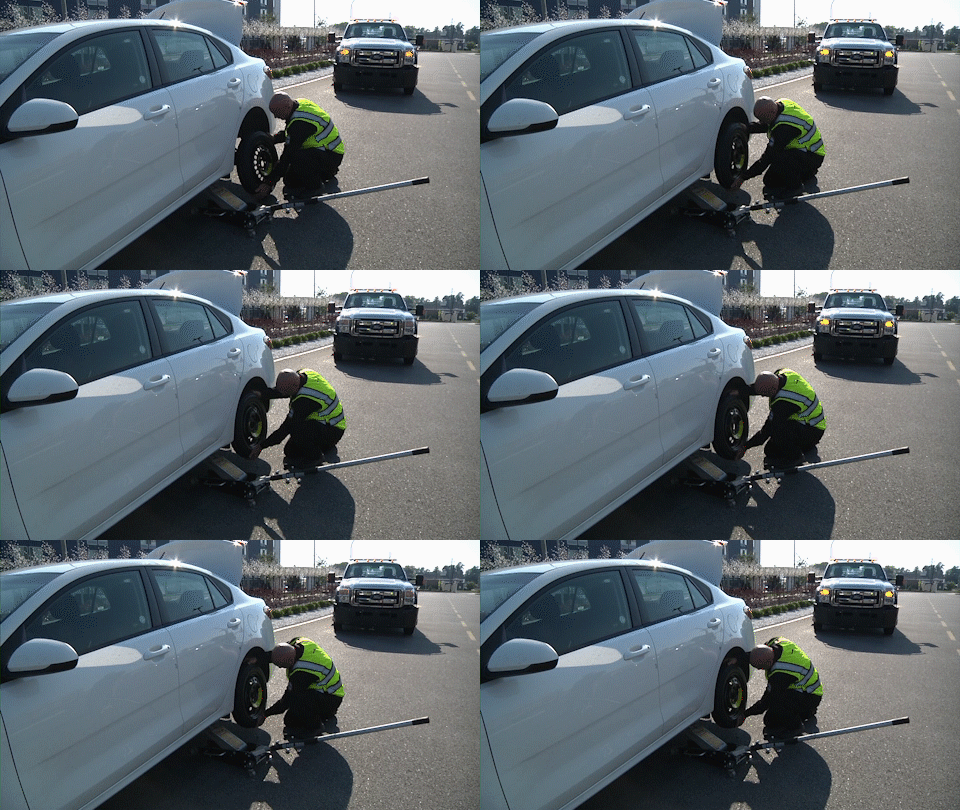
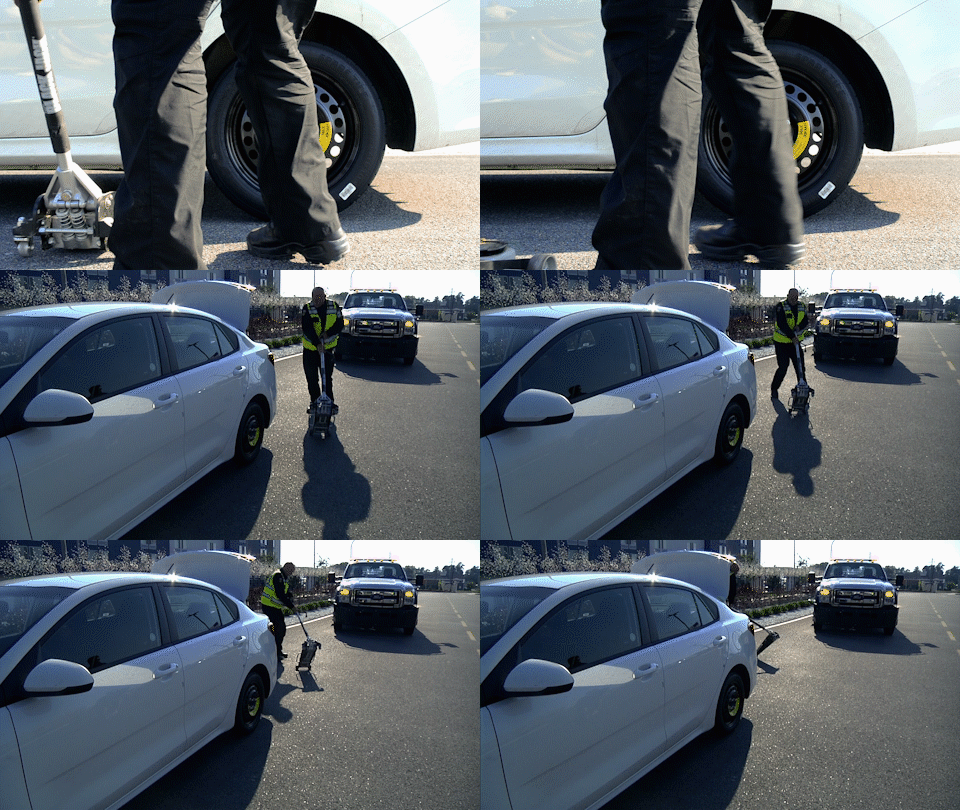
Like handling batteries, roadside tire changes are a common call that has a fair share of dangers, particularly if the tire being replaced is on the traffic side of the vehicle. WreckMaster recommends moving the casualty to a low traffic area or parking lot whenever possible when conducting a tire change. This allows the operator to move freely around the vehicle and not impede traffic on busy streets.
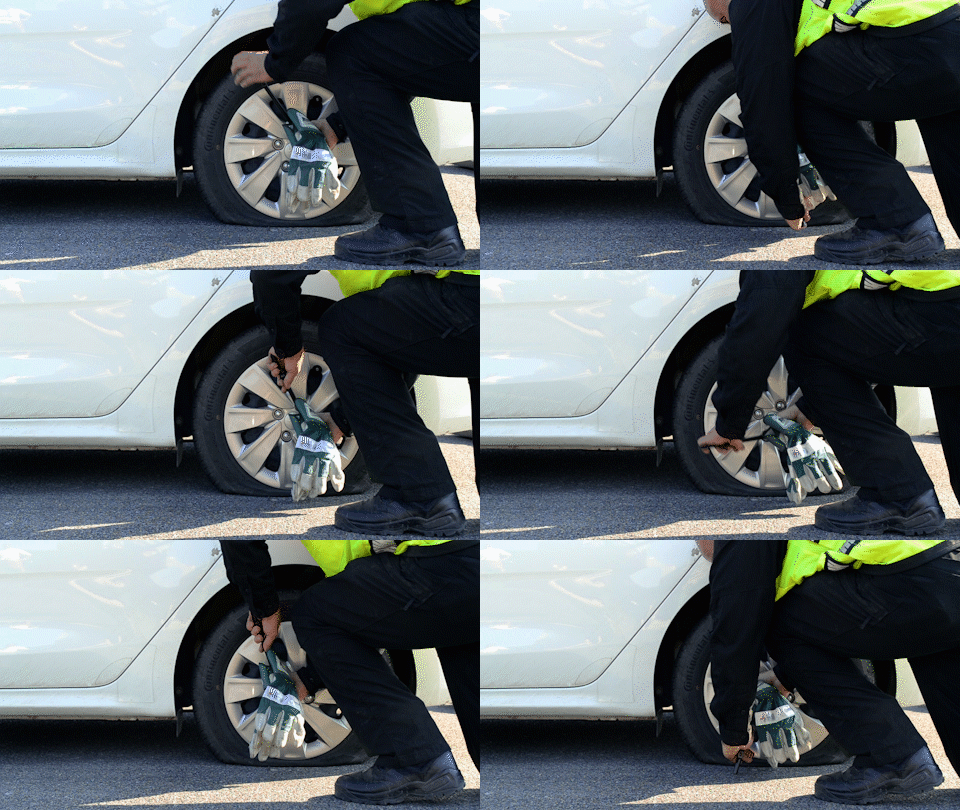
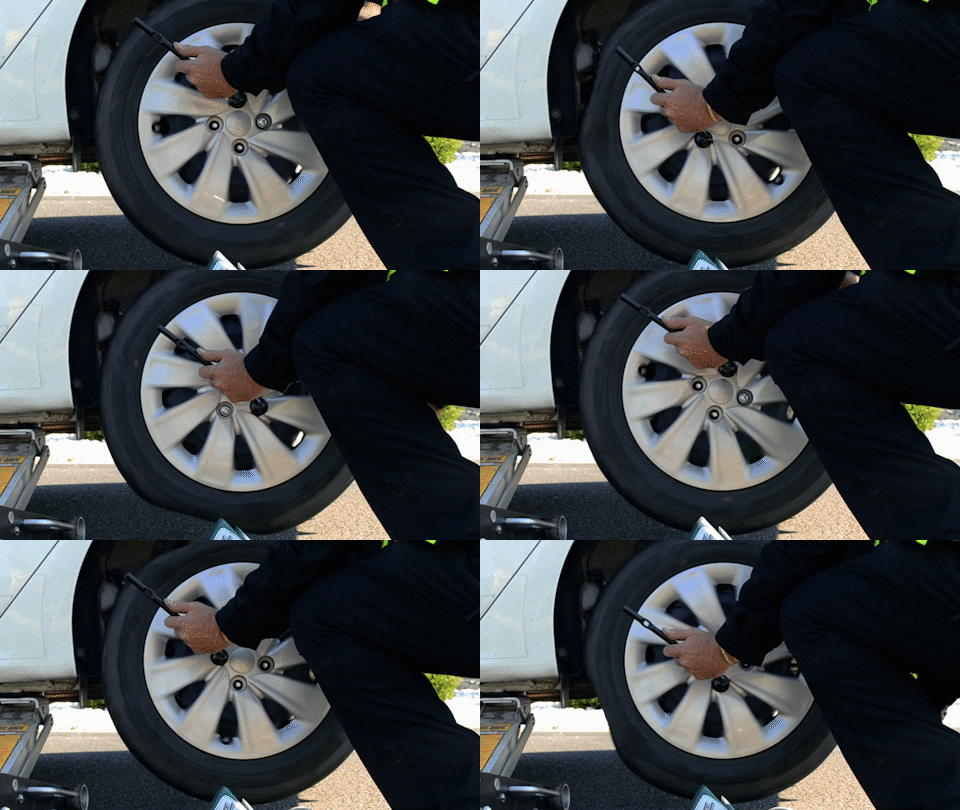
TIRE CHANGE STEP-BY-STEP
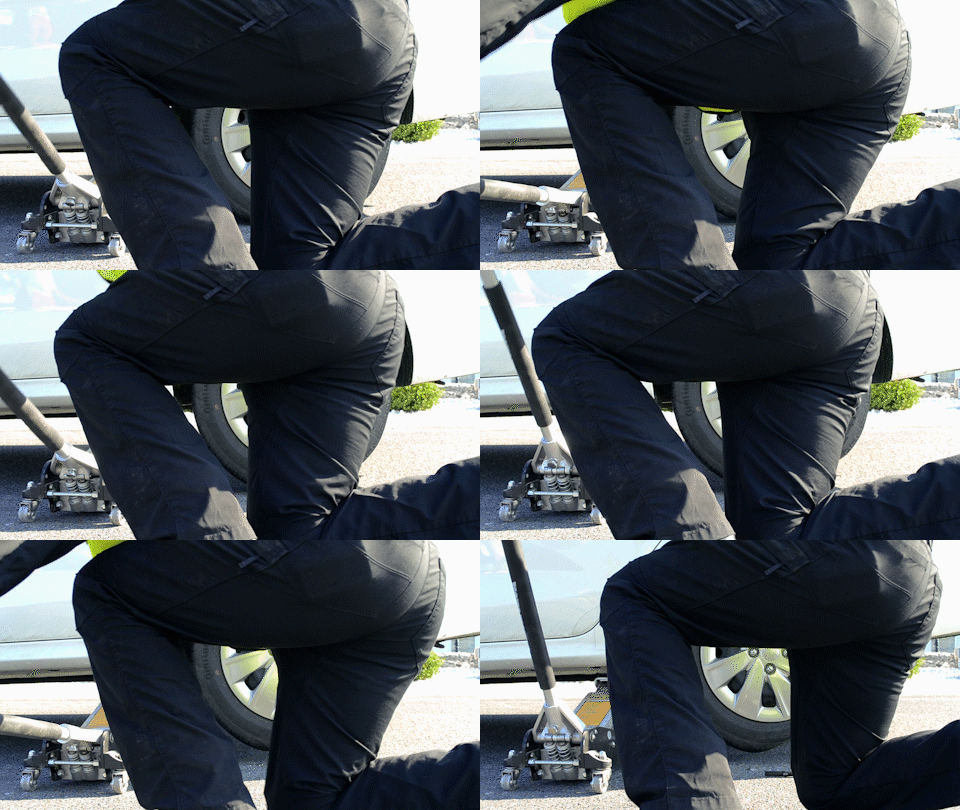
USING THE JACK
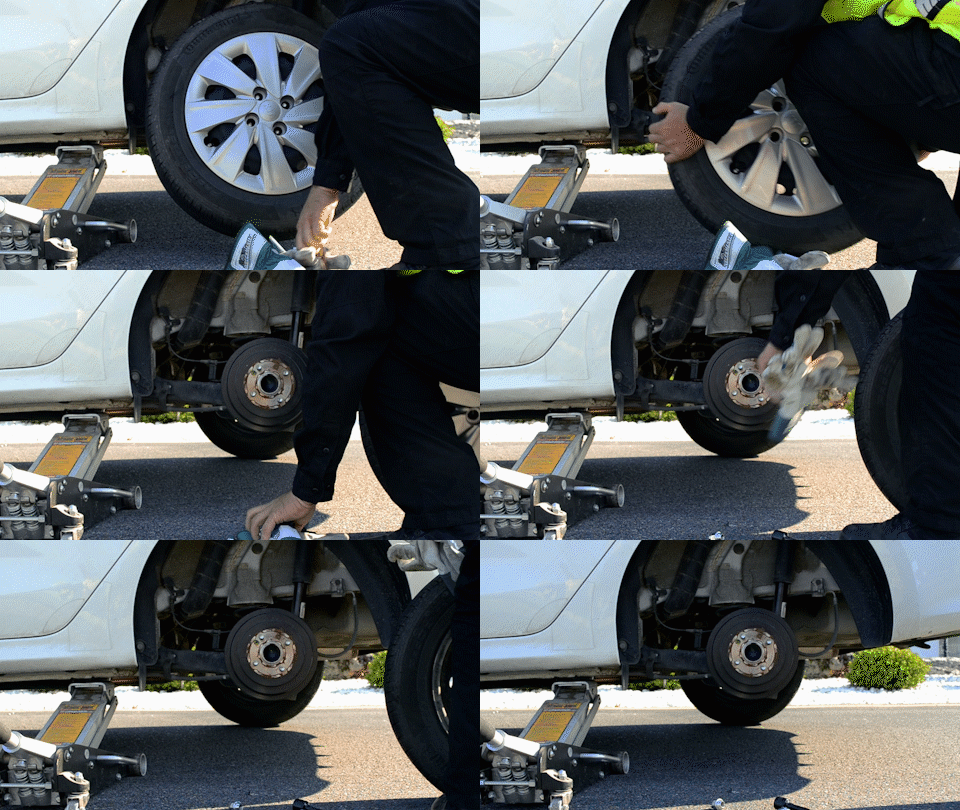
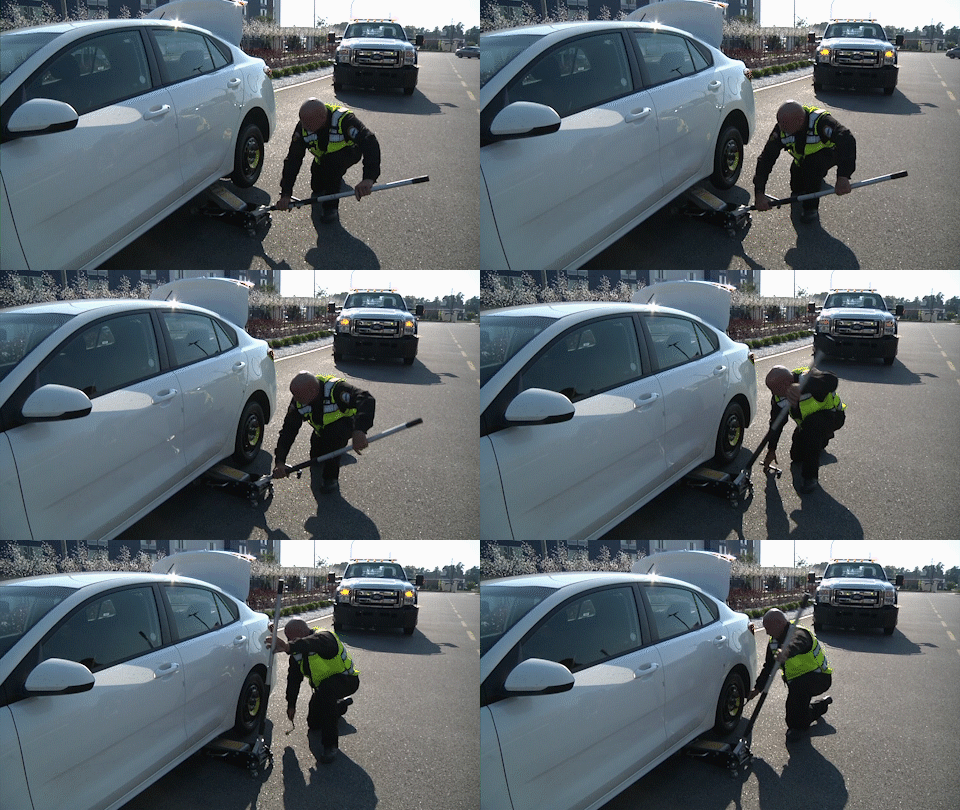
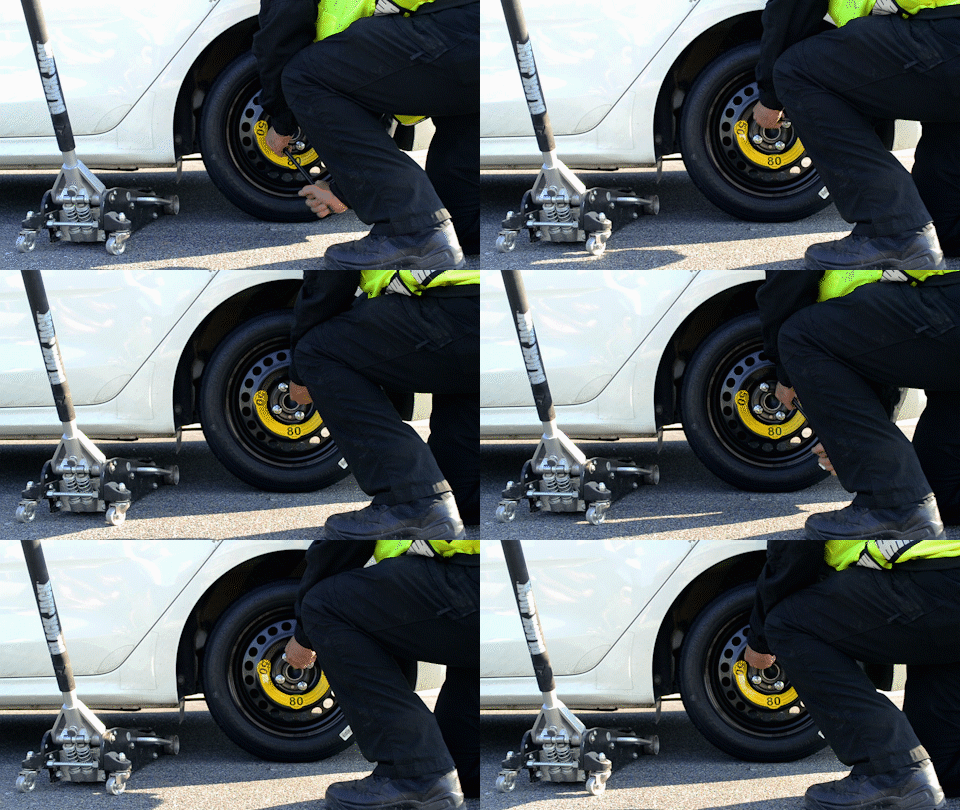
First and foremost, it is vital to remember that the jack is simply a tool for lifting the vehicle. It IS NOT to be used as the primary securement keeping the vehicle elevated. WreckMaster never recommends an operator works under a suspended load. The vehicle must be supported with a proper jack stand or tire stand before the tired can be removed. Ensure that your equipment is properly rated for the weight of the vehicle before using. Additionally, tire chocks should be placed on the tires on the opposing side of the vehicle that work is being conducted on.
CHANGING THE TIRE
Before heading out for a tire change, be sure that the dispatcher collects the following information:
- Does the owner have a spare / is there more than one flat or damaged tire?
- Is the spare on the same style of rim as the other tires?
- Are the tires stock or after market for the vehicle?
- What the size and shape of the lug nuts?
- How many lug nuts are there?
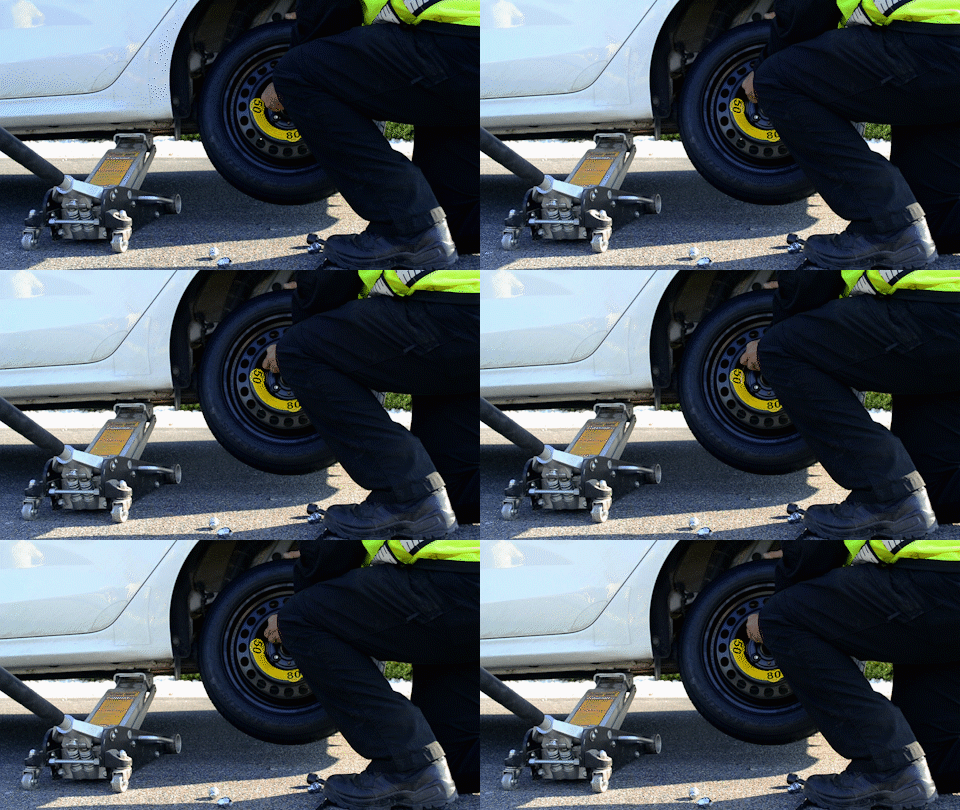
Though there will typically be a spare tire with casualty, an operator may occasionally be asked to bring a tire to the scene. It is important that any tire brought to scene matches the size and bolt pattern of other tires on the vehicle. When removing tires, be careful not to cause any damage to the rim or hubcaps whenever possible.
FUEL CALLS
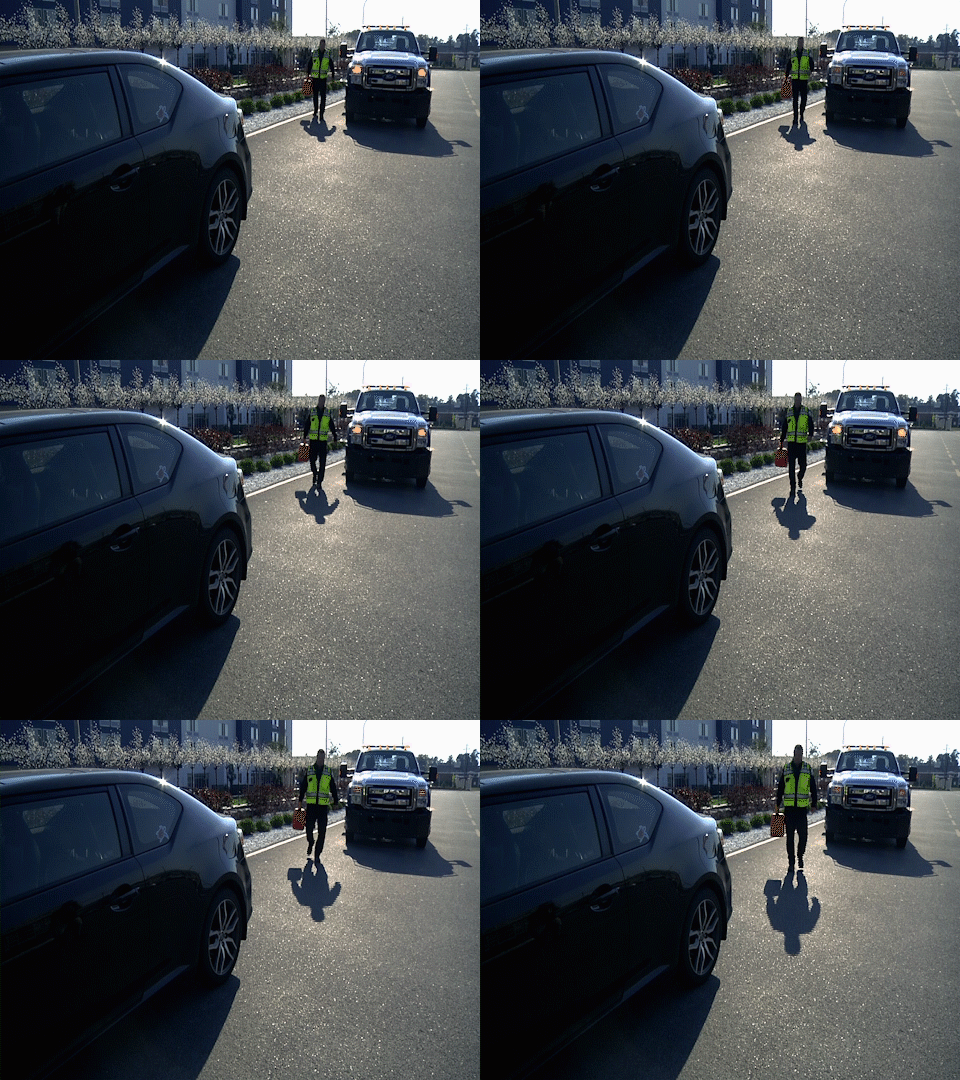
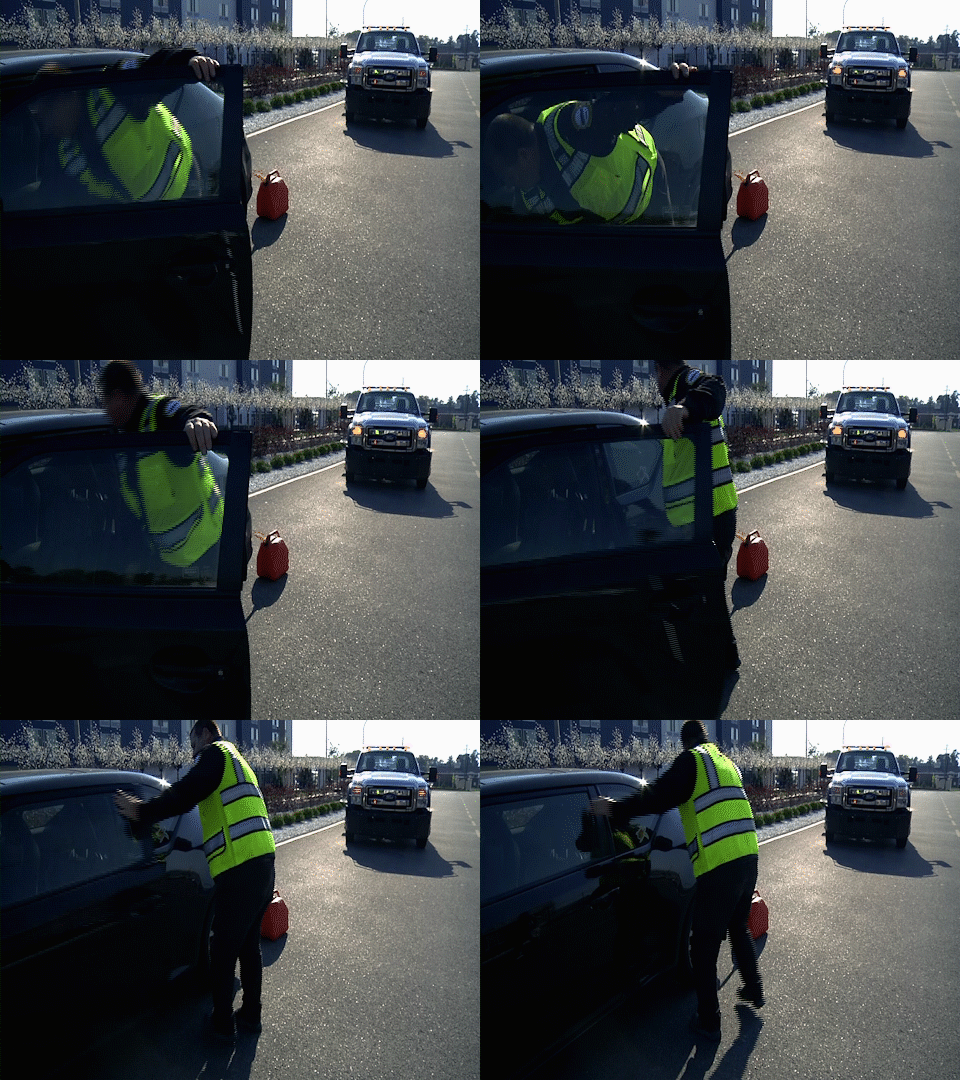
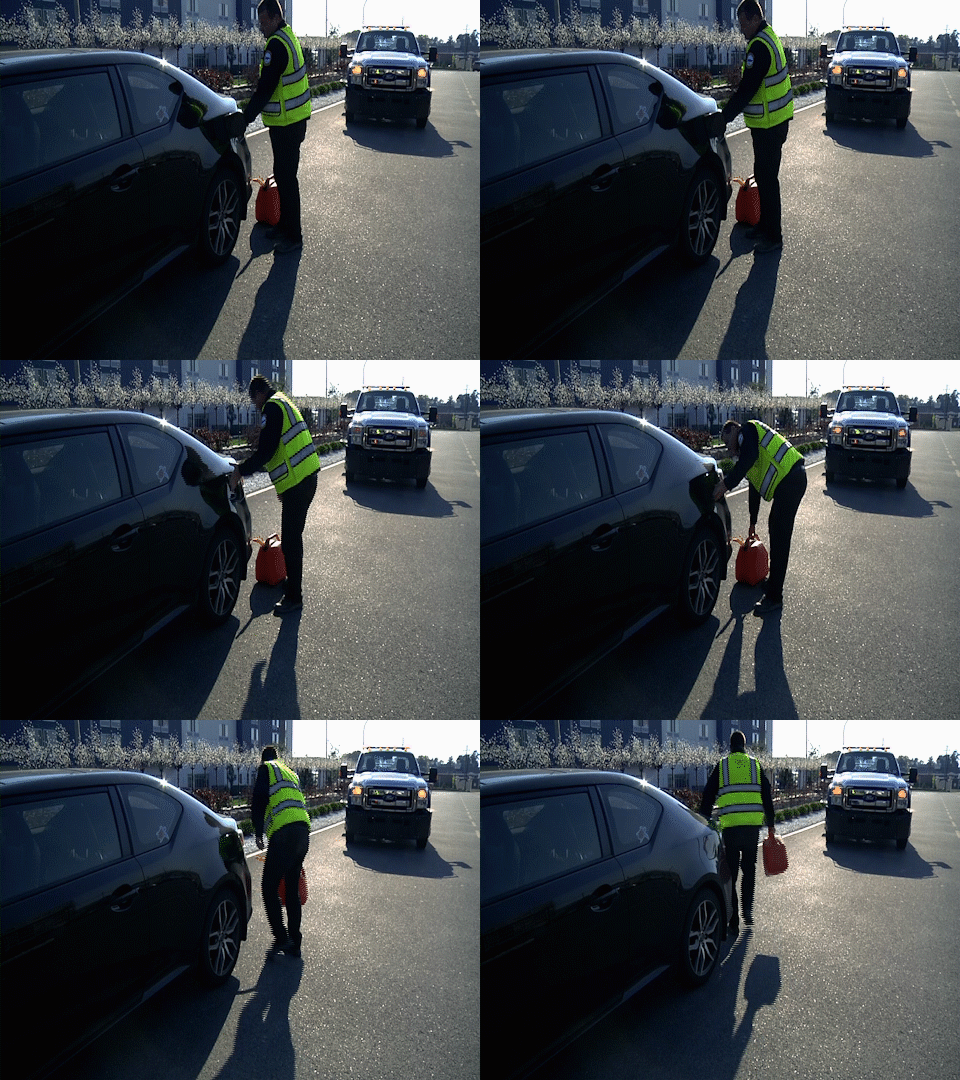
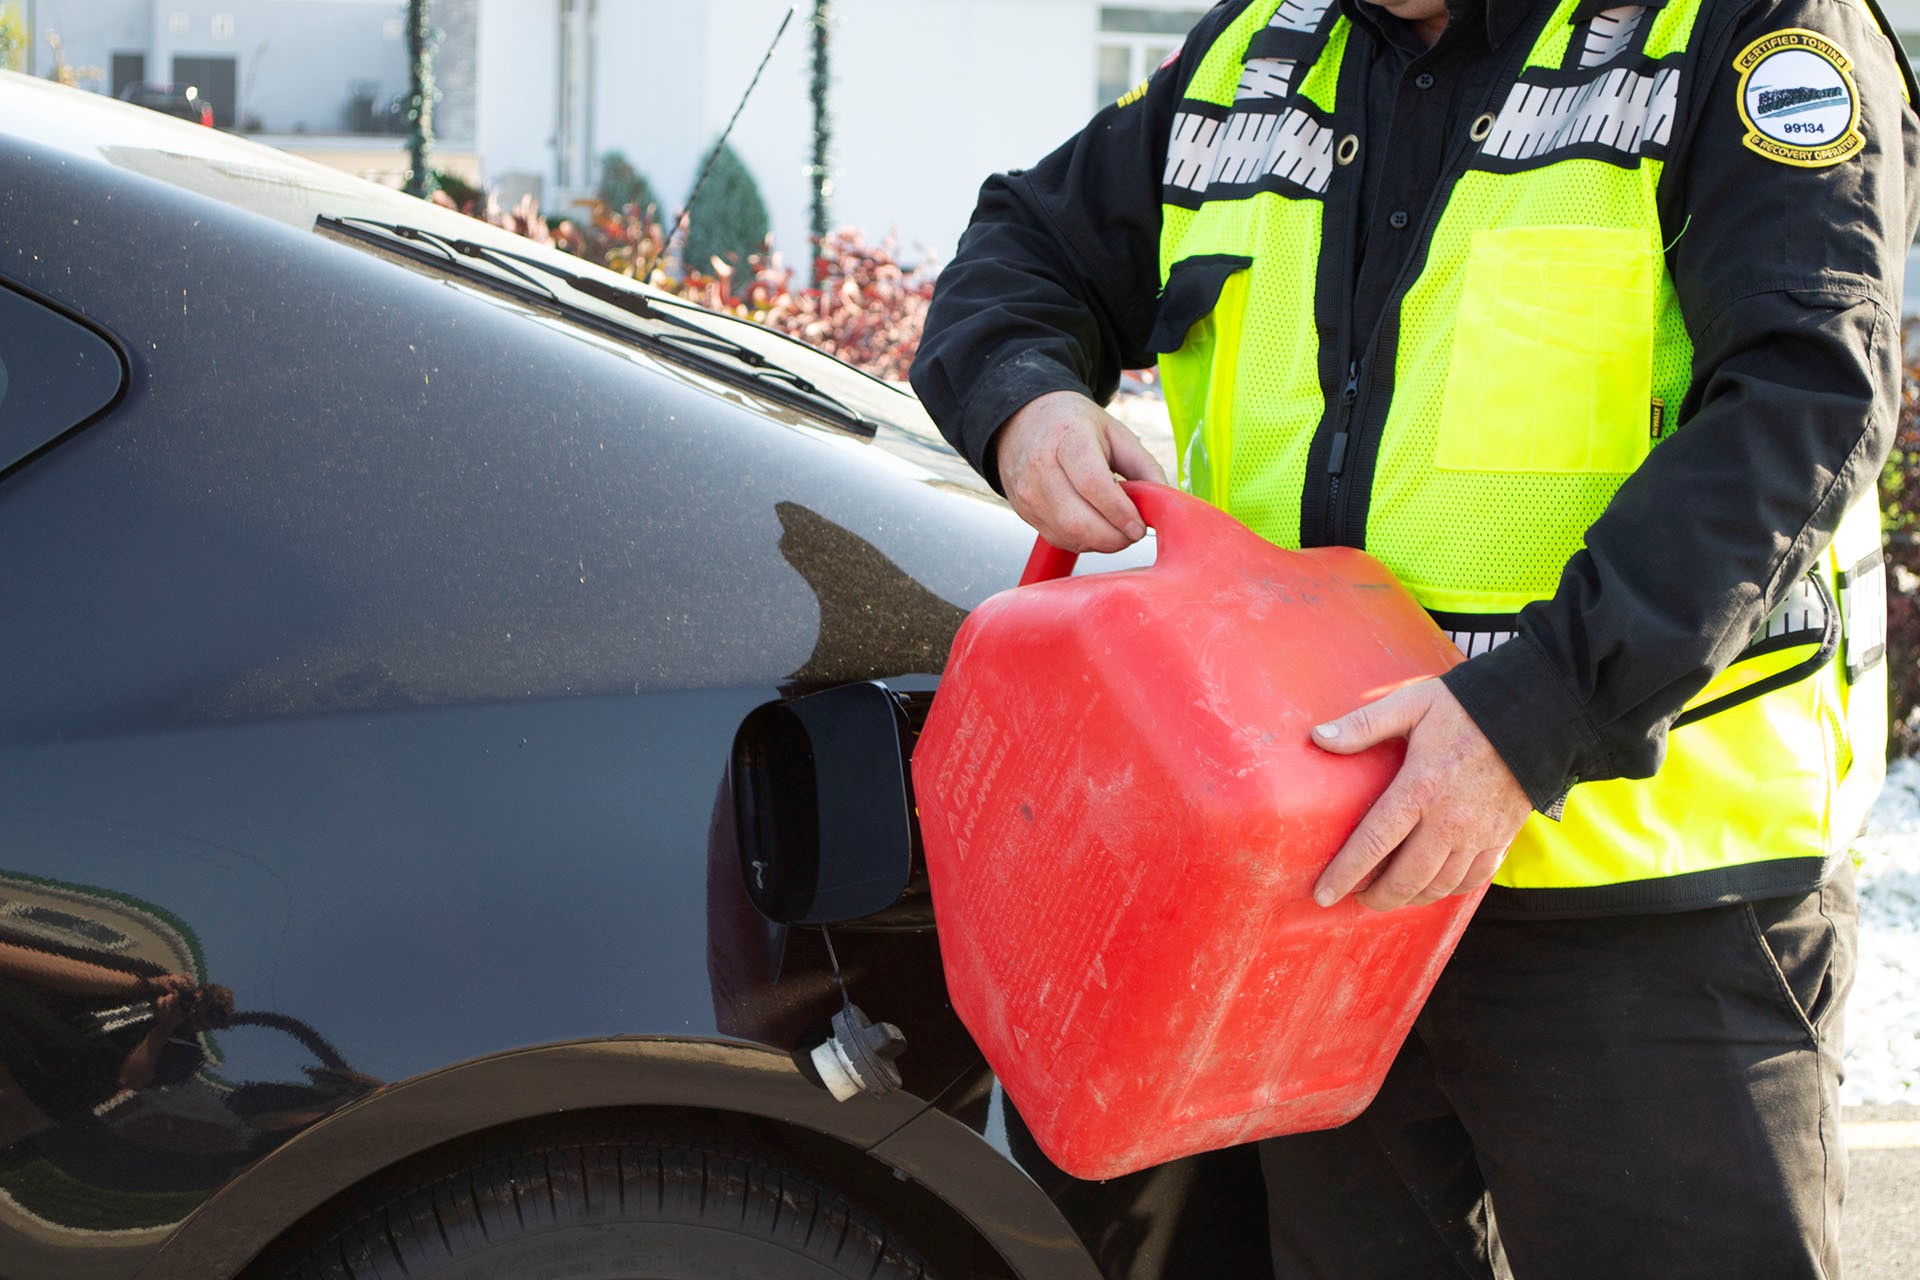
When going on a fuel call, the most important information to have before leaving the lot is the type of fuel that is required. While some service vehicles may have multiple grades on board, an operator will likely have to stock up prior to heading to the call. Fuel grade requirements for most vehicles can be found online, however modifications made a vehicles engine could require a different grade.
Some newer vehicles won’t have a traditional gas cap and will instead have some form of capless system to the tank. These tanks require a special funnel or nozzle, which will usually be stowed within the vehicle. If the tank is capless, consult the owner’s manual or ask the owner for the location.
FUEL CALLS STEP-BY-STEP
